Introduction:
Puffy paint is an incredibly versatile and fun medium that brings a whole new dimension to your creative projects. Whether you’re a seasoned crafter or a beginner looking to explore new techniques, puffy paint offers endless possibilities. In this blog, we’ll explore a range of DIY puffy paint ideas that you can bring to life on canvas, adding texture, color, and a playful touch to your artwork. From simple designs to more intricate creations, these ideas will inspire you to grab your paint and start crafting.

What is Puffy Paint?
Puffy paint, also known as dimensional fabric paint, is a type of paint that expands and puffs up as it dries, creating a raised, 3D effect. It’s commonly used on fabrics but works wonderfully on other surfaces like canvas, paper, wood, and even glass. Available in a wide array of colors, puffy paint can be applied directly from the bottle using its nozzle, making it easy to create detailed designs without the need for brushes or other tools.
If you want to learn more about creativity , colouring and painting then you can check Zentangle Patterns.
Materials Needed for Puffy Paint
Creating with puffy paint is a fun and simple way to add texture and dimension to your craft projects. Whether you’re painting on fabric, glass, or paper, the basic materials are easy to gather and use. Here’s a list of essential materials you’ll need to get started with puffy paint:
1. Puffy Paint
- Description: The star of the show! Puffy paint comes in a variety of colors and finishes, including metallic, neon, and glitter. It’s typically packaged in squeeze bottles for easy application.
- Where to Get It: Available at most craft stores, online retailers, and sometimes in the craft section of department stores.
2. Surface to Paint On
- Examples:
- Fabric: T-shirts, tote bags, aprons, pillowcases, and more.
- Paper: Cardstock, scrapbooks, greeting cards.
- Glass: Jars, bottles, picture frames, ornaments.
- Canvas: Small art canvases, canvas shoes.
- Other: Wood, plastic, and more depending on your project.
3. Cardboard Insert (for Fabric Projects)
- Description: Use a piece of cardboard to insert inside fabric items like T-shirts or tote bags. This prevents the paint from seeping through to the other side.
- Where to Get It: You can cut a piece from an old cardboard box, or buy pre-cut pieces from craft stores.
4. Painter’s Tape or Masking Tape
- Description: Helpful for creating clean lines or sectioning off areas you don’t want to paint.
- Where to Get It: Available at hardware stores, craft stores, and general stores.
5. Stencils (Optional)
- Description: Use stencils to create consistent shapes and letters. This is especially useful for beginners.
- Where to Get It: Craft stores or online, or make your own using cardstock and a craft knife.
6. Apron or Protective Clothing
- Description: Puffy paint can be messy, so it’s a good idea to wear an apron or old clothes that you don’t mind getting paint on.
- Where to Get It: Craft stores, kitchenware stores, or old clothes from home.
7. Palette or Disposable Plate (Optional)
- Description: Useful if you want to mix colors or offload excess paint before applying it to your project.
- Where to Get It: Any kitchenware store or use an old plate from home.
8. Fine Paintbrushes or Toothpicks (Optional)
- Description: For fine details or spreading the paint evenly. These are helpful tools for more detailed work.
- Where to Get It: Craft stores or general stores.
9. Heat Gun or Hair Dryer (Optional)
- Description: Used to speed up the drying process or to help puff up the paint more evenly on certain surfaces.
- Where to Get It: Hardware stores, craft stores, or online.
10. Protective Table Cover or Drop Cloth
- Description: Protect your work surface from paint spills and drips.
- Where to Get It: Craft stores, home improvement stores, or use old newspaper.
How to Make Your Own Puffy Paint at Home
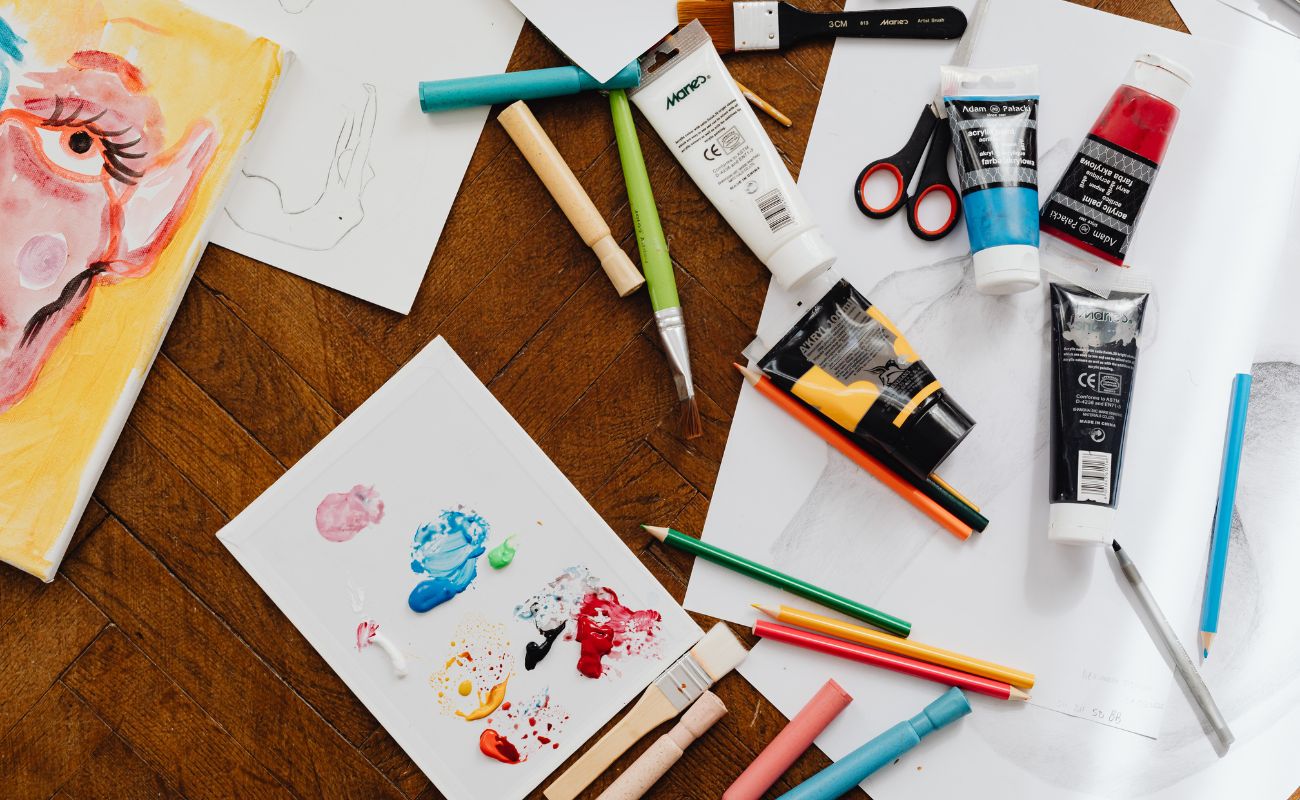
Making puffy paint at home is an easy and fun DIY project that you can do with simple ingredients you likely already have in your kitchen. This homemade version is perfect for crafting with kids or for adding texture to your art projects. Here’s a step-by-step guide on how to make your own puffy paint.
Ingredients and Materials
- 1/2 cup of Flour
- 1/2 cup of Salt
- 1/2 cup of Water
- Food Coloring (optional)
- Mixing Bowls
- Spoons or Whisks
- Plastic Squeeze Bottles or Ziplock Bags (for application)
- Paper, Cardstock, or other surfaces to paint on
Instructions
- Combine the Dry Ingredients
- In a mixing bowl, combine the flour and salt. Stir until they are well mixed. The salt helps to give the paint a grainy texture, which adds to the puffiness once it’s dry.
- Add Water
- Gradually add water to the flour and salt mixture. Stir continuously until the mixture reaches a smooth consistency, similar to pancake batter. If the mixture is too thick, add a little more water; if it’s too thin, add more flour.
- Divide and Color the Paint
- If you want to make multiple colors, divide the mixture into separate bowls. Add a few drops of food coloring to each bowl and mix thoroughly until the color is evenly distributed. Adjust the intensity of the color by adding more food coloring.
- Prepare for Application
- Transfer the colored puffy paint to plastic squeeze bottles for easy application. If you don’t have squeeze bottles, you can use small ziplock bags: simply fill the bags with paint, seal them, and snip off a tiny corner to create a piping bag.
- Create Your Designs
- Use the squeeze bottles or piping bags to apply the puffy paint to your chosen surface. You can create designs, write words, or just let your creativity flow with abstract patterns. The paint will be slightly raised when applied and will puff up more as it dries.
- Let It Dry
- Allow your puffy paint designs to dry thoroughly. Depending on the thickness of the paint and the humidity in your environment, this could take several hours to overnight. For an extra puffed-up effect, you can gently heat the paint with a hairdryer while it’s still wet.
Tips for Using Homemade Puffy Paint
- Storage: If you have leftover puffy paint, store it in airtight containers or sealed bags. It may thicken slightly over time, so you can add a small amount of water to restore its consistency.
- Surface Options: This homemade puffy paint works best on paper, cardstock, or lightweight cardboard. It’s not ideal for fabric or glass, as it may not adhere well or could crack when dry.
- Adding Glitter: For extra sparkle, you can mix in a little glitter with the paint before applying it to your project.
Puffy Paint Ideas for Your Canvas Creations
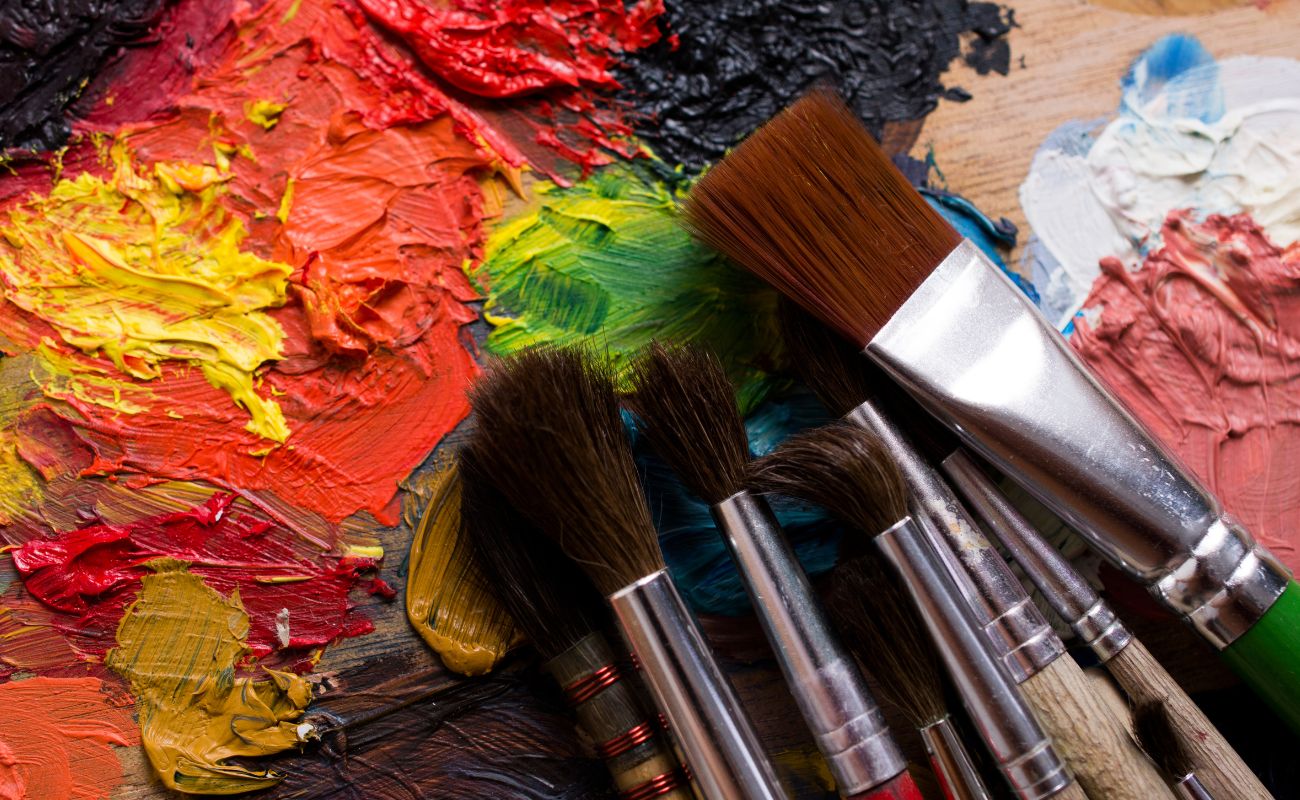
1. Textured Abstract Art
- What You’ll Need: Canvas, puffy paint in various colors, a palette knife (optional).
- How to Create: Start by applying puffy paint directly onto the canvas in random patterns or shapes. You can experiment with different thicknesses to create varying levels of texture. If you prefer, use a palette knife to spread and mix colors, creating a marbled effect. The result is a unique abstract piece that’s both visually and tactilely interesting.
2. Personalized Name Art
- What You’ll Need: Canvas, puffy paint in your choice of colors, stencils (optional).
- How to Create: Use puffy paint to write names, quotes, or words on the canvas. For a more precise look, you can use stencils to outline the letters before filling them in with paint. This is a great project for creating personalized gifts or wall art for a child’s room. You can also embellish the letters with additional details like hearts, stars, or swirls.
3. 3D Floral Designs
- What You’ll Need: Canvas, puffy paint in various colors (especially green for stems and leaves, and bright colors for flowers).
- How to Create: Start by outlining the shape of your flowers using the puffy paint directly on the canvas. Then, fill in the petals with vibrant colors, layering the paint to achieve a puffier effect. Use green puffy paint to draw the stems and leaves. You can experiment with different flower types, from simple daisies to more complex roses, to create a blooming masterpiece.
4. Geometric Patterns
- What You’ll Need: Canvas, puffy paint in several contrasting colors, painter’s tape.
- How to Create: Apply painter’s tape to the canvas to create geometric shapes such as triangles, squares, or diamonds. Use puffy paint to fill in the shapes with different colors. Once the paint is dry, carefully remove the tape to reveal crisp, clean lines. The raised texture of the puffy paint adds depth to the geometric patterns, making them stand out.
5. Galaxy Art
- What You’ll Need: Canvas, puffy paint in black, white, and metallic colors like silver and gold.
- How to Create: Begin by painting the entire canvas with a dark color (like black or deep blue). Once dry, use white puffy paint to create stars, galaxies, and other celestial objects. Add metallic accents to mimic the shine of stars and planets. The puffy paint adds a 3D effect that makes the galaxy look almost real, as if you could reach out and touch the stars.
6. Cute Animal Portraits
- What You’ll Need: Canvas, puffy paint in various colors.
- How to Create: Choose your favorite animal and sketch a basic outline on the canvas. Use puffy paint to fill in the outline, starting with the body and adding details like eyes, ears, and whiskers. The puffy paint’s texture will give your animal portraits a cartoonish, playful feel, perfect for a nursery or kid’s room.
7. Seasonal and Holiday Decor
- What You’ll Need: Canvas, puffy paint in holiday-themed colors (red, green, gold for Christmas; orange, black for Halloween, etc.).
- How to Create: Celebrate the seasons by creating themed canvas art. For Christmas, you could paint a Christmas tree, ornaments, or a wreath using puffy paint. For Halloween, try a spooky haunted house or jack-o’-lanterns. The puffy paint adds a festive touch that’s sure to make your holiday decor stand out.
8. Textured Mandalas
- What You’ll Need: Canvas, puffy paint in bright, contrasting colors.
- How to Create: Mandalas are intricate, circular designs that are both beautiful and meditative to create. Start in the center of the canvas and work your way outwards, adding layers of circles, petals, and other patterns with puffy paint. The raised texture of the puffy paint will make the mandala come to life, adding a tactile dimension to its visual appeal.
Tips for Working with Puffy Paint
- Practice on Paper First: If you’re new to puffy paint, it’s a good idea to practice your designs on a piece of paper before moving to the canvas. This will help you get a feel for how the paint flows and how much pressure to apply.
- Layering for Extra Dimension: Puffy paint can be layered to create even more dimension. Allow the first layer to dry before adding additional layers on top.
- Mixing Colors: For a custom look, you can mix different colors of puffy paint together. Do this on a palette or piece of cardboard, and then apply the mixed color to your canvas.
- Drying Time: Puffy paint takes time to dry and puff up fully, so be patient. It’s best to let your project dry overnight to ensure the paint has fully set and puffed.
- Cleanup: Puffy paint can be messy, so be sure to protect your workspace with newspaper or a drop cloth. Clean any spills or mistakes immediately with a damp cloth before the paint dries.
Easy Puffy Paint Designs: Quick and Fun Creations
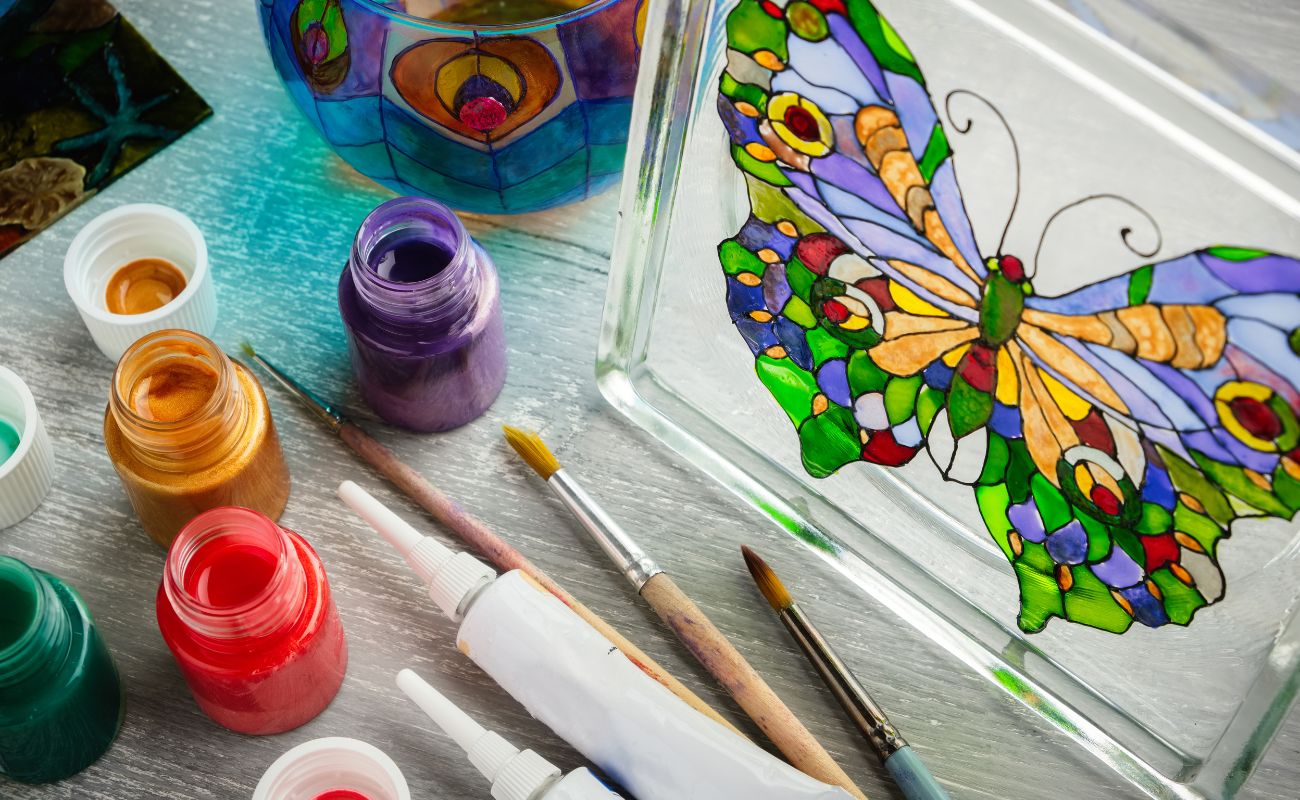
Puffy paint is a fantastic medium for all skill levels, and it’s perfect for simple yet striking designs. Whether you’re new to crafting or just looking for quick projects, these easy puffy paint designs are sure to inspire you. With just a few basic supplies, you can create colorful, textured artwork that’s fun to make and display.
1. Simple Dots and Lines
- What You’ll Need: Canvas or cardstock, puffy paint in various colors.
- How to Create: Start with the basics by creating patterns with dots and lines. Apply puffy paint in a series of evenly spaced dots or draw straight lines across your surface. You can create a minimalist design with just one color or use multiple colors for a vibrant look. This is a great way to practice controlling the paint and getting comfortable with the medium.
2. Hearts and Stars
- What You’ll Need: Canvas or cardstock, puffy paint in your favorite colors.
- How to Create: Hearts and stars are classic, easy shapes that look great in puffy paint. Draw a few simple hearts or stars scattered across your canvas, or create a pattern with them. You can outline the shapes first and then fill them in, or make them solid. This design is perfect for Valentine’s Day, a nursery, or just adding a touch of whimsy to your space.
3. Rainbow Stripes
- What You’ll Need: Canvas or cardstock, puffy paint in rainbow colors.
- How to Create: Create a rainbow effect by applying puffy paint in colorful stripes across your canvas. You can make the stripes wide or narrow, and either vertical, horizontal, or diagonal. For an added touch, blend the edges of each stripe into the next color for a gradient effect. This design is cheerful and bright, perfect for adding a splash of color to any room.
4. Swirls and Spirals
- What You’ll Need: Canvas or cardstock, puffy paint in one or more colors.
- How to Create: Swirls and spirals are simple yet dynamic shapes that are easy to create with puffy paint. Start at a central point and draw a spiral outward, or create a series of swirls across your canvas. You can use one color or multiple colors to add variety. This design is fun to make and adds a playful touch to your artwork.
5. Basic Flower Shapes
- What You’ll Need: Canvas or cardstock, puffy paint in bright colors.
- How to Create: Flowers are a popular design that’s easy to create with puffy paint. Start by drawing a small circle for the center of the flower, then add petal shapes around it. You can make simple daisy-like flowers or experiment with different petal shapes and sizes. This is a great project for kids or beginners looking to create something cheerful and colorful.
6. Smiley Faces
- What You’ll Need: Canvas or cardstock, puffy paint in yellow, black, and other colors.
- How to Create: Smiley faces are easy and fun to make with puffy paint. Start with a yellow circle for the face, then add black dots for the eyes and a curved line for the mouth. You can create a whole series of smiley faces with different expressions, or just stick with the classic happy face. This design is sure to bring a smile to anyone who sees it.
7. Polka Dots
- What You’ll Need: Canvas or cardstock, puffy paint in multiple colors.
- How to Create: Polka dots are a timeless pattern that’s easy to achieve with puffy paint. Simply apply dots of puffy paint in a grid pattern or scatter them randomly across your canvas. Use one color for a uniform look or mix and match for a fun, colorful design. Polka dots are great for adding a playful element to any project.
8. Animal Tracks
- What You’ll Need: Canvas or cardstock, puffy paint in black, brown, or other natural colors.
- How to Create: Animal tracks are a cute and easy design idea. Draw simple paw prints or hoof marks across your canvas. You can create tracks from cats, dogs, birds, or even dinosaurs for a fun twist. This design is great for animal lovers and adds a touch of nature to your artwork.
Tips for Easy Puffy Paint Designs
- Keep it Simple: When starting with puffy paint, simple designs are best. Focus on basic shapes and patterns until you feel comfortable with the medium.
- Use Stencils: If you’re having trouble with freehand designs, use stencils to guide your shapes. This can help ensure even lines and consistent shapes.
- Experiment with Color: Don’t be afraid to play with different color combinations. Puffy paint comes in a wide range of hues, so mix and match to create a look that’s uniquely yours.
- Start Small: Begin with small projects, like greeting cards or mini canvases, before moving on to larger pieces. This allows you to practice your technique without feeling overwhelmed.
10 Puffy Paint Ideas for Fabric Painting
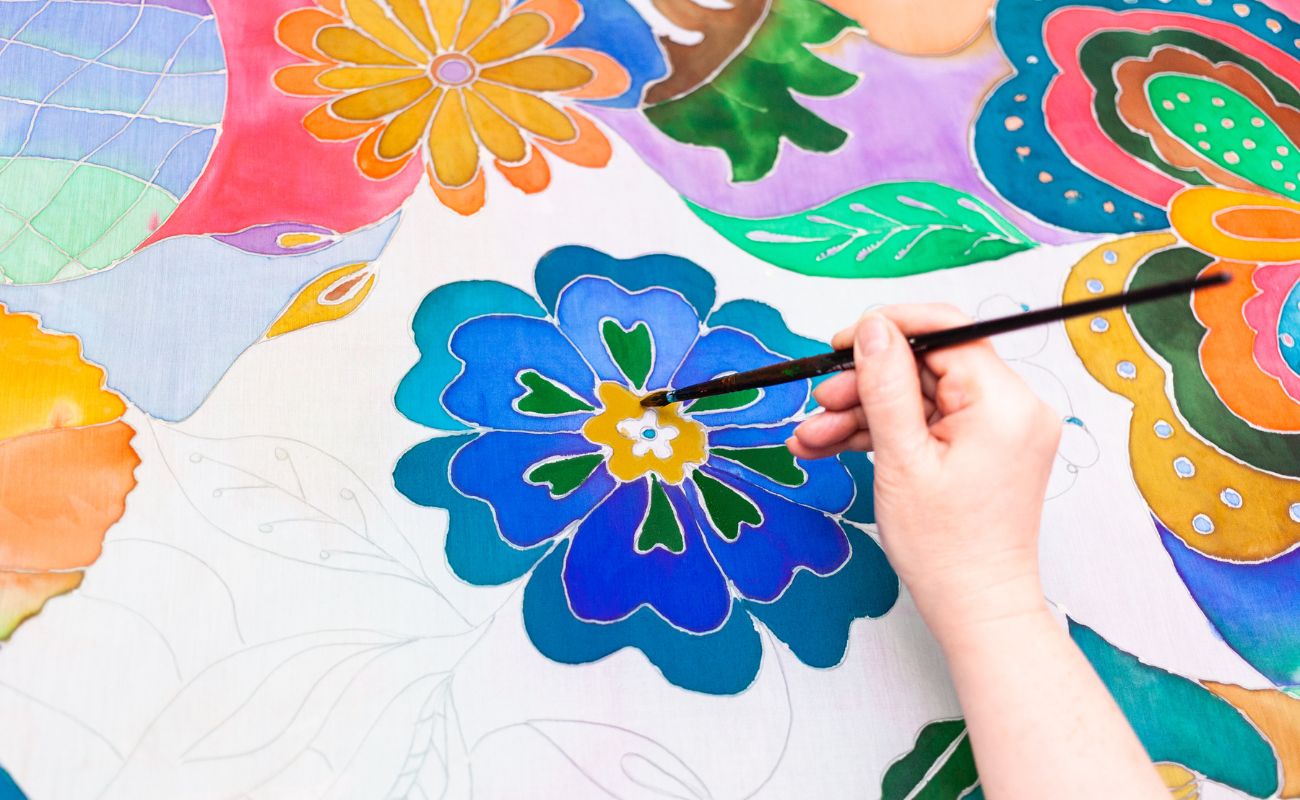
Puffy paint is a fantastic medium for adding texture and dimension to fabric, making your designs pop with a 3D effect. Whether you’re looking to personalize clothing, create unique home decor, or craft custom accessories, puffy paint can elevate your fabric projects. Here are 10 puffy paint ideas for fabric painting that are easy to try and sure to impress.
1. Custom T-Shirts
- What You’ll Need: Plain T-shirt, puffy paint in various colors.
- How to Create: Personalize a plain T-shirt with your own designs. You can create simple slogans, your favorite quotes, or intricate patterns. Puffy paint adds texture and makes the design stand out, turning an ordinary T-shirt into a unique statement piece. Try writing your name, a favorite saying, or even creating a small illustration on the front or back of the shirt.
2. Decorative Tote Bags
- What You’ll Need: Canvas tote bag, puffy paint in contrasting colors.
- How to Create: Transform a plain tote bag into a stylish accessory with puffy paint. Create designs like floral patterns, geometric shapes, or even abstract art. You can also add your initials or a fun phrase. Puffy paint adds a tactile element, making your tote bag not only visually appealing but also fun to touch.
3. Personalized Pillowcases
- What You’ll Need: Pillowcases, puffy paint in soft, pastel colors.
- How to Create: Give your bedroom a personal touch by decorating your pillowcases with puffy paint. You can create monograms, draw simple shapes like stars or hearts, or even write a sweet message. The raised texture of the paint adds a cozy, handmade feel to your bed linens.
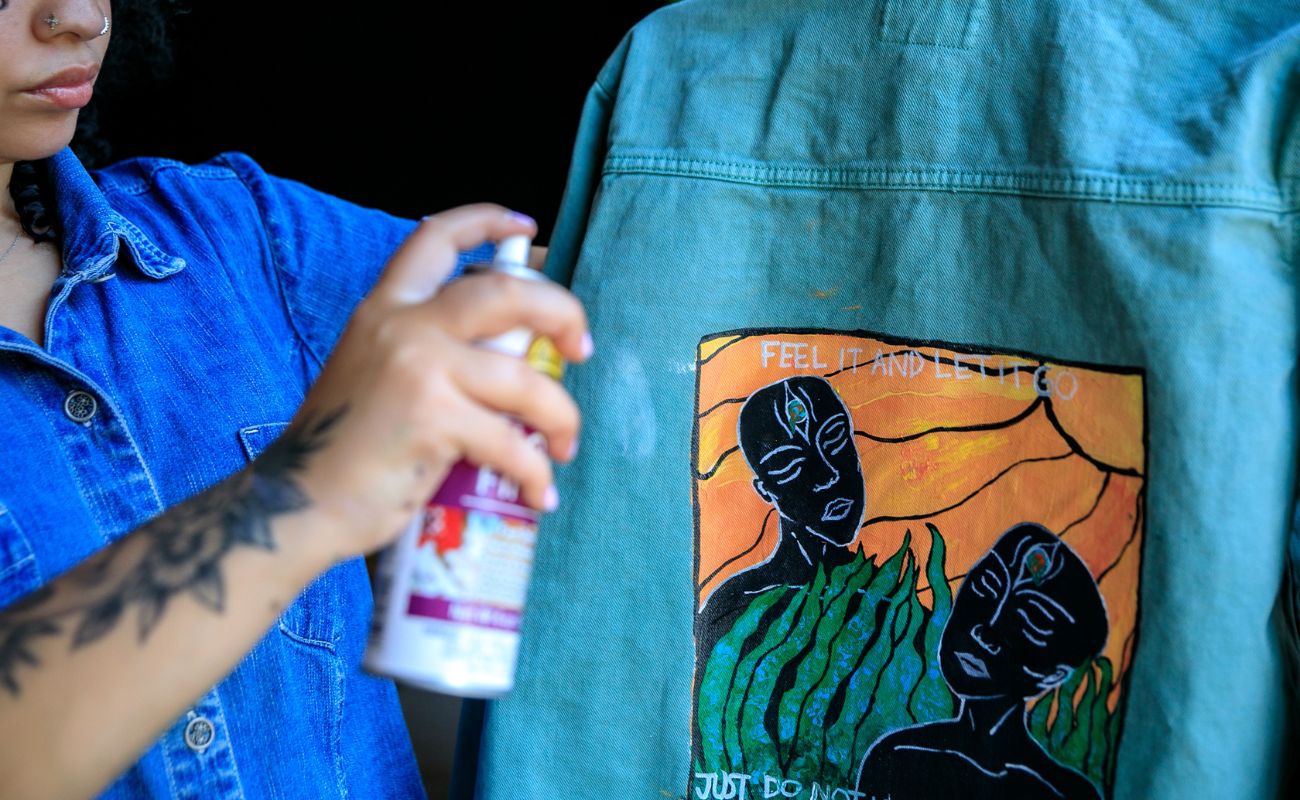
4. Stylish Denim Jackets
- What You’ll Need: Denim jacket, puffy paint in metallic or neon colors.
- How to Create: Give a denim jacket a trendy makeover by adding puffy paint designs. Create patterns on the back, collar, or cuffs. You can go for a rock-and-roll look with skulls and lightning bolts, or opt for a more delicate design like flowers or mandalas. The puffy paint will stand out beautifully against the denim, making your jacket a true fashion statement.
5. Brighten Up Shoes
- What You’ll Need: Canvas shoes, puffy paint in various colors.
- How to Create: Customize your canvas shoes with puffy paint for a fun and unique look. Add designs to the toes, sides, or even the laces. You can create polka dots, stripes, or even little characters. Puffy paint is durable and flexible, so it’s perfect for shoes that will see a lot of wear.
6. Quirky Aprons
- What You’ll Need: Plain apron, puffy paint in kitchen-themed colors.
- How to Create: Make your cooking time more fun by decorating a plain apron with puffy paint. Draw food items like fruits, vegetables, or cupcakes, or write funny cooking phrases. This is a great project for a personalized gift or just to brighten up your own kitchen wear.
7. Festive Table Runners
- What You’ll Need: Fabric table runner, puffy paint in holiday colors.
- How to Create: Add a festive touch to your dining table by decorating a fabric table runner with puffy paint. You can create seasonal designs like snowflakes for winter, pumpkins for fall, or flowers for spring. The raised texture of the paint will add a unique and elegant touch to your table decor.
8. Creative Headbands
- What You’ll Need: Fabric headbands, puffy paint in bright, cheerful colors.
- How to Create: Add a pop of color and texture to plain fabric headbands with puffy paint. Create simple patterns like dots or stripes, or go for a more intricate design like flowers or abstract shapes. This is a quick and easy way to personalize your accessories and make them truly unique.
9. Unique Throw Blankets
- What You’ll Need: Plain throw blanket, puffy paint in complementing colors.
- How to Create: Personalize a throw blanket with puffy paint to create a cozy, one-of-a-kind piece. You can add designs along the edges or create a central motif like a large flower, geometric pattern, or even your initials. The puffy paint will give the blanket a tactile feel, perfect for snuggling up with.
10. Custom Jeans
- What You’ll Need: Jeans, puffy paint in metallic or contrasting colors.
- How to Create: Give your jeans a custom look by adding puffy paint designs. You can create designs on the pockets, along the seams, or down the legs. Go for a subtle look with small accents or go all out with large, bold designs. Puffy paint is flexible, so your designs will move with the fabric, making your jeans both fashionable and functional.
Tips for Fabric Painting with Puffy Paint
- Pre-Wash Your Fabric: Before starting your project, wash and dry the fabric to remove any sizing or chemicals that could prevent the paint from adhering properly.
- Use a Cardboard Insert: Place a piece of cardboard inside clothing items like T-shirts or pillowcases to prevent the paint from bleeding through to the other side.
- Test Your Paint: Before starting on your fabric, test the puffy paint on a small, hidden area to see how it adheres and puffs up after drying.
- Set the Paint: After the paint is completely dry, set it by lightly pressing with an iron on the reverse side or using a heat gun, following the paint manufacturer’s instructions.
- Wash with Care: To preserve your designs, wash painted fabric items inside out in cold water and avoid using harsh detergents or bleach.
10 Puffy Paint Ideas for Glass Painting
Puffy paint is not just for fabric and canvas—it can also be used to create stunning, textured designs on glass surfaces. Whether you’re looking to personalize home decor, make unique gifts, or add some flair to everyday items, puffy paint on glass opens up a world of creative possibilities. Here are 10 puffy paint ideas for glass painting that are easy to try and sure to add a touch of uniqueness to your creations.
1. Personalized Glassware
- What You’ll Need: Plain glass cups, puffy paint in various colors.
- How to Create: Add a personal touch to your glassware by decorating them with puffy paint. You can write names, initials, or even short quotes on wine glasses, mugs, or tumblers. For a more decorative look, try adding small patterns like dots, swirls, or hearts around the text. This is perfect for creating custom gifts or adding a special touch to your own kitchen.
2. Decorative Vases
- What You’ll Need: Glass vase, puffy paint in your choice of colors.
- How to Create: Turn a plain glass vase into a work of art by applying puffy paint designs. You can create floral patterns, abstract shapes, or geometric designs. For a cohesive look, match the colors of the paint to the flowers you typically display in the vase. Puffy paint gives the vase texture, making it a beautiful and tactile centerpiece.
3. Stained Glass Effect
- What You’ll Need: Glass panel or old window, puffy paint in black, and glass paint in various colors.
- How to Create: Mimic the look of stained glass by using black puffy paint to outline shapes on a glass panel. Once the paint is dry, fill in the sections with different colors of glass paint. The raised puffy paint outlines create the leading that is typical in stained glass, giving your project an authentic look.
4. Mandala Art
- What You’ll Need: Glass plate or glass panel, puffy paint in contrasting colors.
- How to Create: Mandalas are intricate, circular designs that look stunning on glass. Start from the center of your glass surface and work outward, creating layers of geometric shapes and patterns with puffy paint. The raised texture of the puffy paint adds dimension and makes the mandala stand out beautifully, especially when light shines through.
5. Festive Ornaments
- What You’ll Need: Clear glass ornaments, puffy paint in holiday colors.
- How to Create: Decorate clear glass ornaments with puffy paint to create personalized holiday decor. You can draw snowflakes, Christmas trees, or even write holiday messages. The puffy paint adds texture and dimension, making your ornaments extra special. These also make great gifts for friends and family during the holiday season.
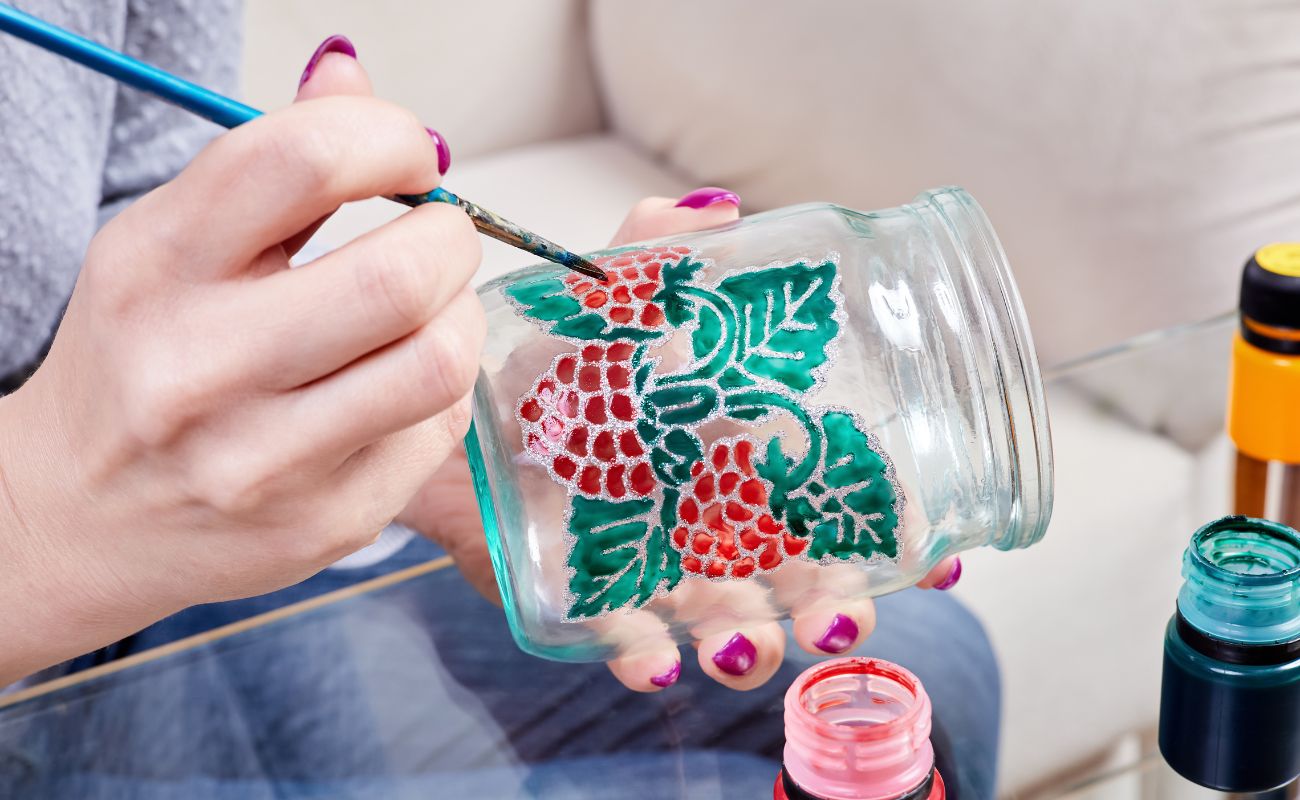
6. Jar Luminaries
- What You’ll Need: Glass jars, puffy paint, tea lights or battery-operated candles.
- How to Create: Transform simple glass jars into beautiful luminaries. Use puffy paint to create patterns or images on the outside of the jars. Once the paint is dry, place a tea light or battery-operated candle inside. The light will shine through the designs, casting beautiful shadows and adding a warm glow to any room.
7. Customized Picture Frames
- What You’ll Need: Glass picture frame, puffy paint in complementary colors.
- How to Create: Add a decorative touch to glass picture frames by applying puffy paint designs around the edges of the frame. You can create borders with dots, swirls, or even tiny flowers. This is a simple way to elevate a plain frame and make it match the theme of the photo inside.
8. Glass Coasters
- What You’ll Need: Glass coasters, puffy paint in metallic or bright colors.
- How to Create: Create custom glass coasters with puffy paint designs. Draw simple patterns like stripes, dots, or even abstract art on the surface of the coasters. Puffy paint not only adds visual interest but also provides a slight texture that helps prevent glasses from slipping. These coasters can be functional and decorative pieces in your home.
9. Window Clings
- What You’ll Need: Plastic sheet, puffy paint in various colors, glass cleaner.
- How to Create: Make your own window clings using puffy paint. Draw your designs on a plastic sheet and let them dry completely. Once dry, peel them off and stick them to your windows. The puffy paint will adhere to the glass, creating fun, removable decorations. You can change them with the seasons or for different holidays.
10. Mason Jar Storage
- What You’ll Need: Mason jars, puffy paint in fun colors.
- How to Create: Decorate Mason jars with puffy paint to create custom storage containers. You can label the jars by writing the contents (like “cookies,” “sugar,” or “spices”) or decorate them with simple patterns. These jars can add a personal touch to your kitchen or craft room, keeping things organized in style.
Tips for Glass Painting with Puffy Paint
- Clean the Surface: Before applying puffy paint, make sure the glass surface is clean and free of oils or dust. Use glass cleaner or rubbing alcohol to prepare the surface.
- Test Your Design: Practice your design on a piece of paper or plastic before transferring it to glass. This will help you perfect your technique and ensure you’re happy with the design.
- Drying Time: Puffy paint can take longer to dry on glass, so be sure to give it plenty of time before handling or using the painted item.
- Set the Paint: Once your design is dry, you can bake the glass in the oven (if the glassware is oven-safe) to help set the paint. Follow the instructions on your paint bottle for temperature and time.
5 Puffy Paint Ideas for Birthday Parties
Puffy paint is a fun and versatile craft supply that can make any birthday party more creative and memorable. Whether you’re hosting a children’s party or looking for unique DIY decorations, puffy paint can be used in a variety of ways to add a personal touch to the celebration. Here are 5 puffy paint ideas that will bring color and excitement to your next birthday party.
1. Custom Party Hats
- What You’ll Need: Plain party hats, puffy paint in bright colors.
- How to Create: Give each guest a unique party hat by letting them decorate their own with puffy paint. Set up a craft station with plain paper or fabric party hats and a variety of puffy paint colors. Guests can write their names, draw patterns, or create fun designs like polka dots, stars, or stripes. The puffy paint adds texture and makes each hat a one-of-a-kind accessory, perfect for party photos.
2. Personalized Goodie Bags
- What You’ll Need: Plain paper or fabric goodie bags, puffy paint in various colors.
- How to Create: Make your party favors extra special by personalizing goodie bags with puffy paint. Write each guest’s name on their bag or decorate them with birthday-themed designs like balloons, cupcakes, or confetti. The raised texture of puffy paint makes the bags stand out and adds a handmade touch that guests will love.
3. Puffy Paint Party Banner
- What You’ll Need: Fabric or paper banner, puffy paint in bright, festive colors.
- How to Create: Create a colorful and textured birthday banner using puffy paint. Write “Happy Birthday” and the birthday person’s name on each banner flag, and decorate the surrounding area with fun patterns or designs like stars, hearts, or birthday cakes. The puffy paint will make the letters and decorations pop, creating a vibrant focal point for your party decor.
4. Decorated Cake Toppers
- What You’ll Need: Cardstock, toothpicks or wooden sticks, puffy paint in various colors.
- How to Create: Make your own cake toppers using puffy paint for a fun and personalized touch. Cut out shapes like stars, hearts, or letters from cardstock, then decorate them with puffy paint. Once the paint is dry, attach the shapes to toothpicks or wooden sticks and place them on the cake. The raised puffy paint designs will add texture and color, making your cake a centerpiece to remember.
5. Puffy Paint Art Station
- What You’ll Need: Small canvases or thick paper, puffy paint in various colors, aprons, and protective table covers.
- How to Create: Set up an art station where guests can create their own puffy paint masterpieces. Provide small canvases or thick paper, along with a variety of puffy paint colors. Guests can let their creativity run wild, painting anything from abstract designs to birthday-themed art. Once the paintings are dry, they can take home their artwork as a keepsake from the party. This activity is not only fun but also gives each guest a unique souvenir to remember the day.
Conclusion
Puffy paint is a fantastic way to add texture and dimension to your canvas art projects. With its versatility and ease of use, it opens up a world of creative possibilities. Whether you’re making abstract art, personalized gifts, or holiday decorations, puffy paint can bring your ideas to life in a fun and unique way. So grab some paint, let your imagination run wild, and start creating your own puffy paint masterpieces today!

I,Abdullah specializes in helping parents choose meaningful names and navigate the complexities of modern parenting. With a deep understanding of child development and a passion for etymology, I provides expert guidance to make the naming process both personal and impactful. Beyond names, Abdullah offers practical advice and support to help families thrive at every stage of parenting. Through engaging articles and personalized consultations, I empowered parents with the tools and insights needed to create nurturing environments for their children.


[…] If you want to learn more about creativity , colouring and painting then you can check Puffy Paint Ideas. […]